Workflow Triggers
Contact Tag
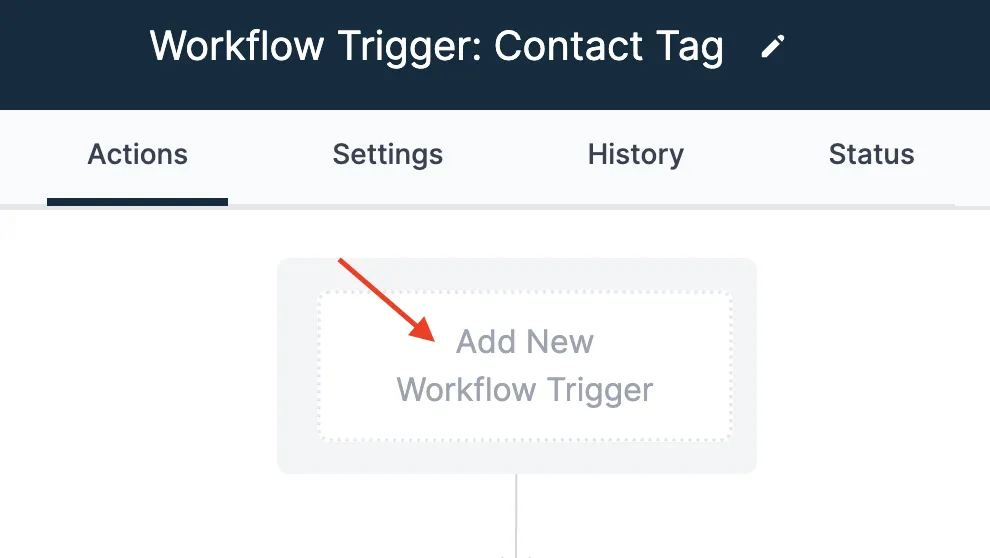
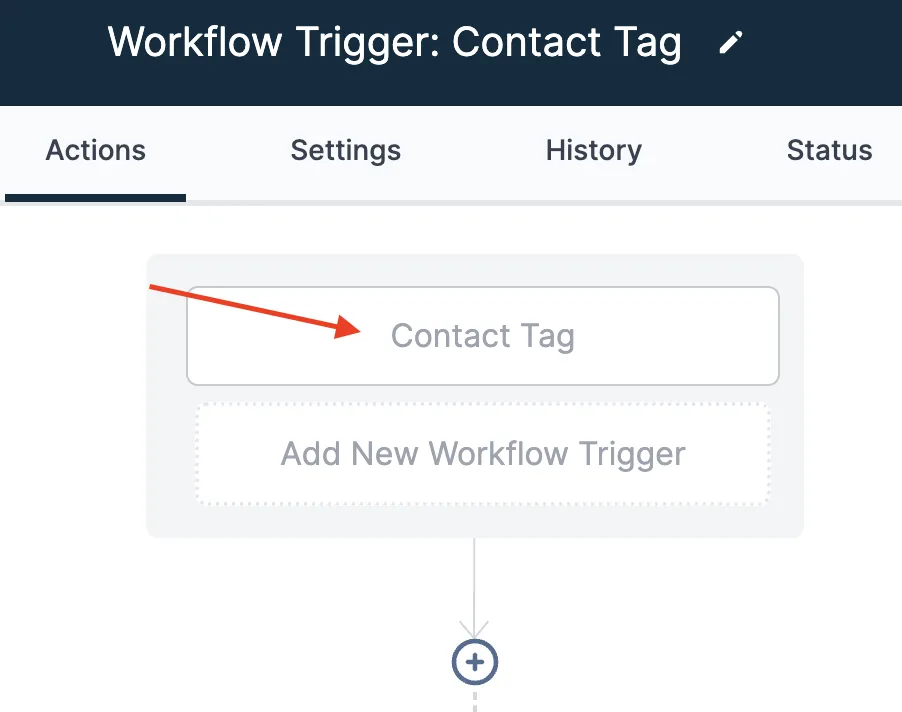
Select the “Add New Trigger” button as seen below
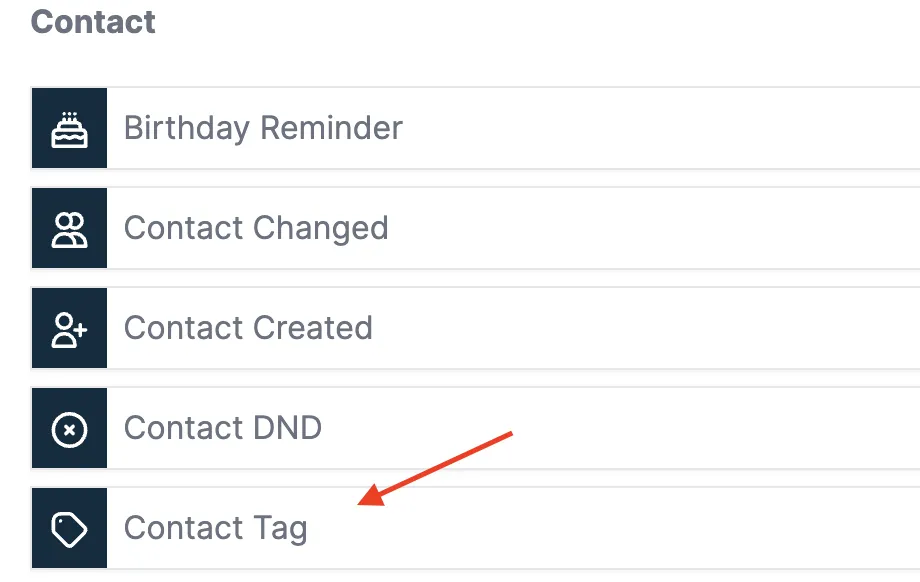
This will pull up a list of new Triggers you can select for the new step Scroll down until you see the Contact section, this is where you can select the “Contact Tag” button
This will bring up a list on the right side where you can add specific tags to the trigger (Note: you can add more than one Contact tag)
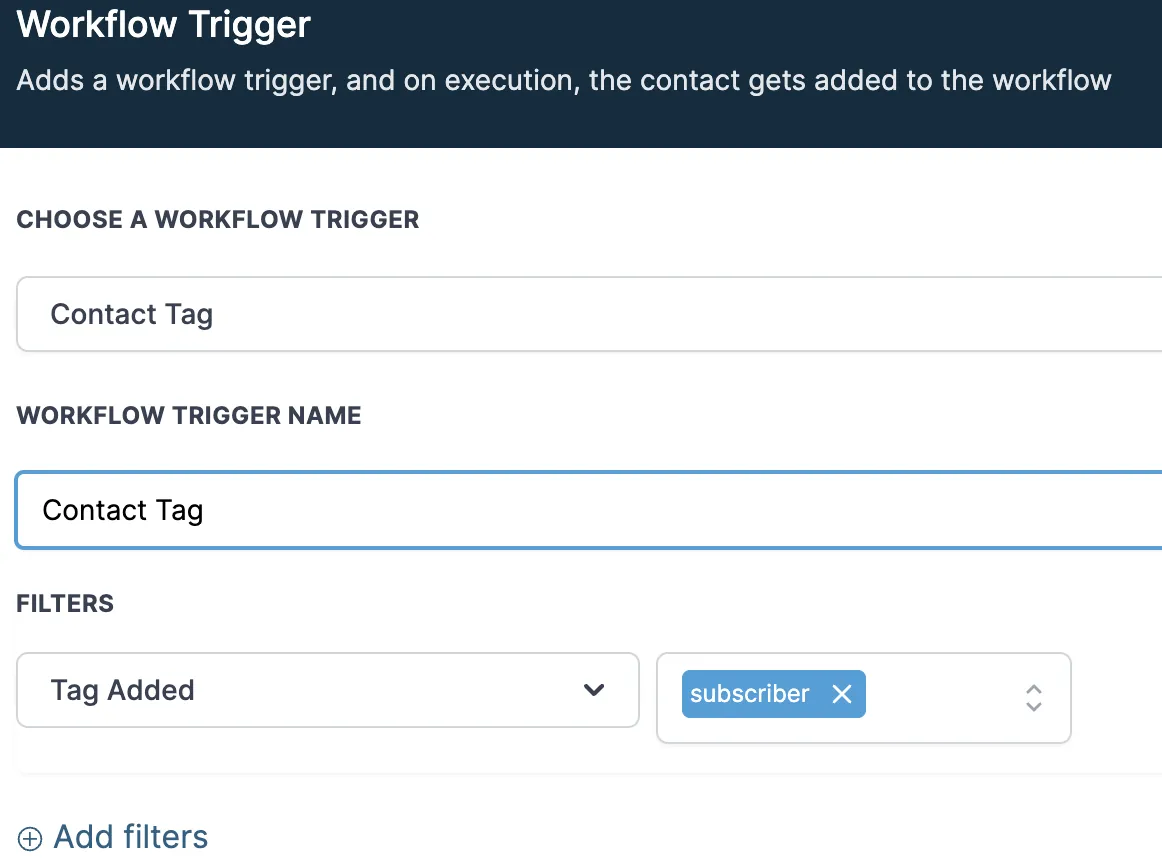
Under the “Filters” drop-down select “Tag Added” or “Tag Removed”
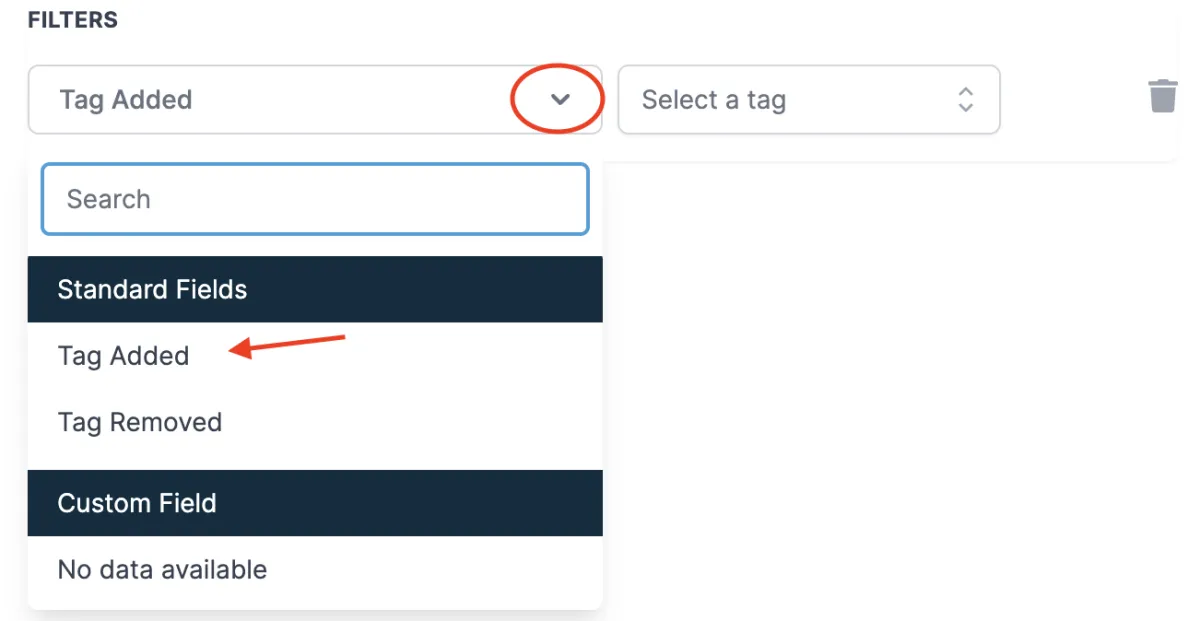
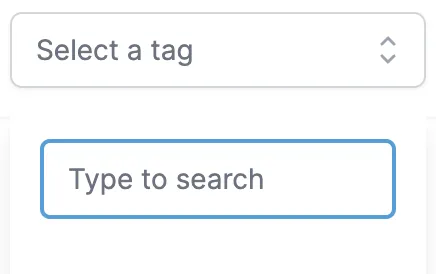
Please Note: if you have not created any contact tags yet it won't display any under the “Select Tag” drop-down
4. To create a custom “Contact Tag” type out the word that you want to add to a contact in the “TAGS” section
For Example: If the customer is a subscriber I will type “Subscriber”Next, select the blue “ADD NEW TAG” button to create the new contact tag (see below)
This is one way you can create custom Contact Tags
5. Once completed it will look like this (you can add multiple tags if needed)

To stay extra organized it’s recommended to type the name of the new contact tag you created in the “Workflow Trigger Name” section
This will allow you to see exactly what the contact tag is without having to click on the trigger details (see below)
6. Please make sure you click the “Save Trigger” button before you close or move on to another step

This will now allow you to see the type of contact tag that you created (see below)
CONNECT
Reach out to us!