Client Portal
Branding your Client Portal
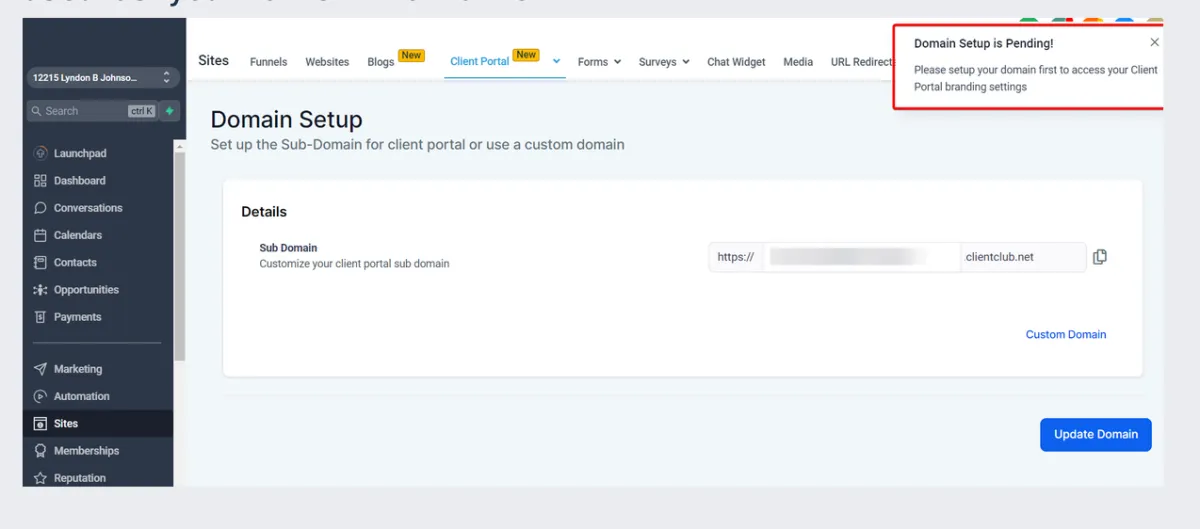
Please Note:
This message means that before you can access and modify the branding settings for your Client Portal, you first need to complete the domain setup process.
The domain setup process involves connecting your chosen domain (e.g., www.yourbusiness.com ) to the Client Portal system. This connection is crucial because it is what allows your clients to access the portal through your selected web address. It's essentially the foundation of your Client Portal.
Once your domain setup process is successfully completed, you'll be able to move forward and access the branding settings for your Client Portal.
If you do not want to set up a custom domain, just clicking on Setup Domain
will be enough and it will add your account's location ID as the prefix to the
clientclub.net domain to be used as your Client Portal URL.
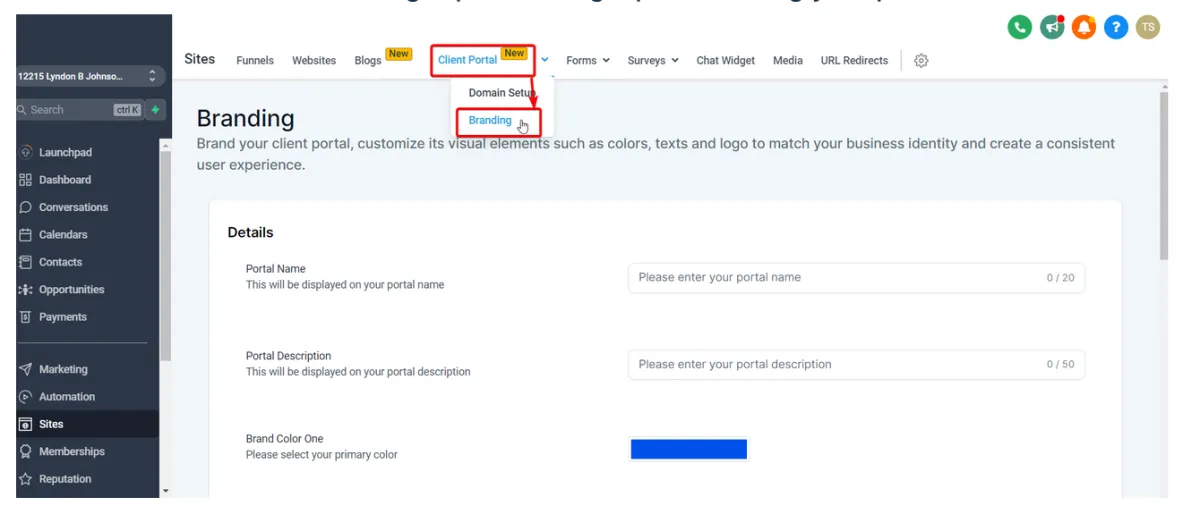
Access the Client Portal Section:
Start by navigating to the client portal section within your account.
This is typically accessed via the left navigation menu when logged into your account.
Go to Branding Option:
You'll find various options once you're in the client portal section. Locate and select the "Branding" option to begin personalizing your portal.
Customize the Portal's Appearance:
Within the "Branding" section, you can fully customize the look and feel of your client portal.
Here are the options available:
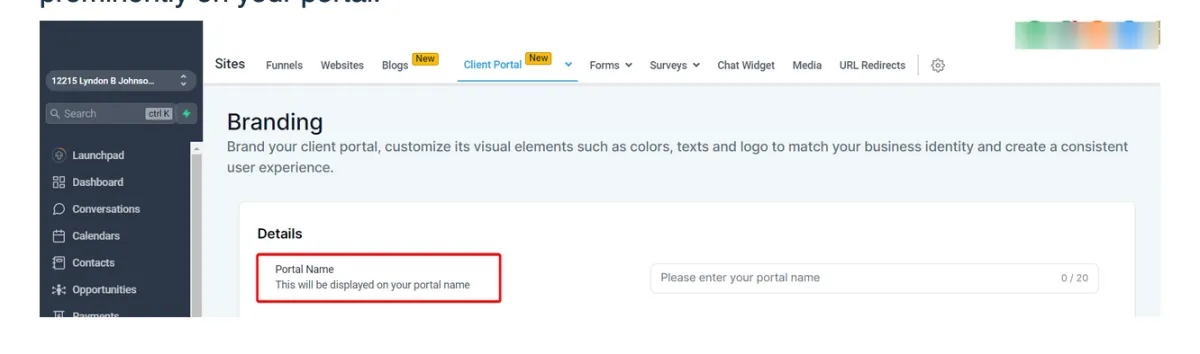
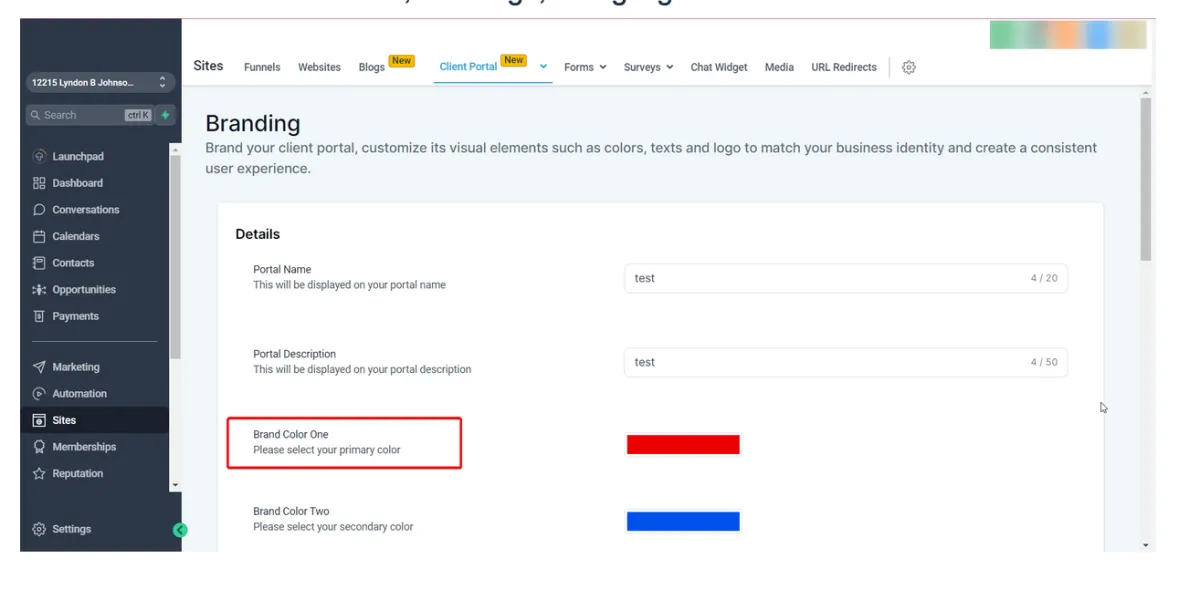
Portal Name: Enter a name for your portal. This is the name that will be displayed prominently on your portal.
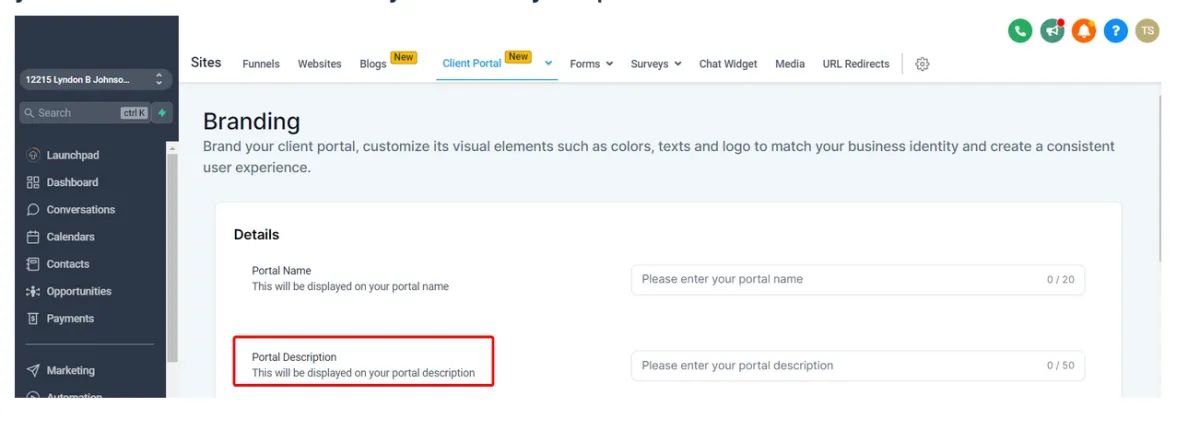
Portal Description:
Add a description for your portal. This description will be visible to your clients and should briefly describe your portal or its services.
Brand Color One:
Choose the primary color to represent your brand in the portal. This color is often used for buttons, headings, or highlights.
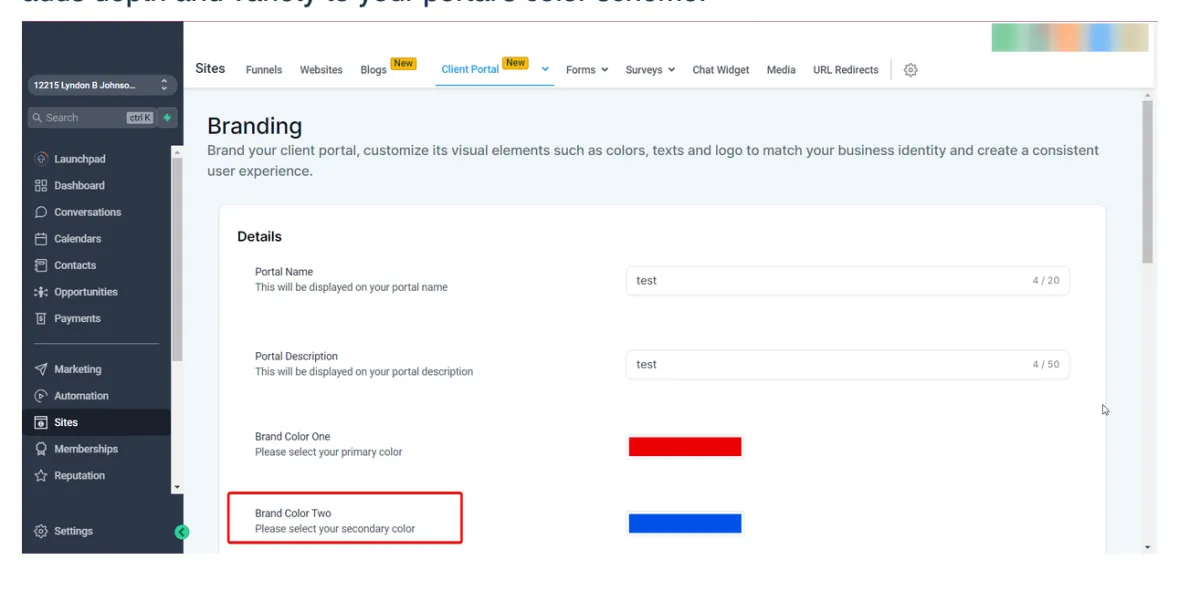
Brand Color Two:
Choose a secondary color to complement your primary color. This adds depth and variety to your portal's color scheme.
Favicon:
Upload a favicon for your portal. Favicons are small icons that appear in the tab of a browser when your website is open. They should ideally be in a 1:1 aspect ratio, in SVG, PNG, or JPG format, with maximum dimensions of 16x16 pixels.
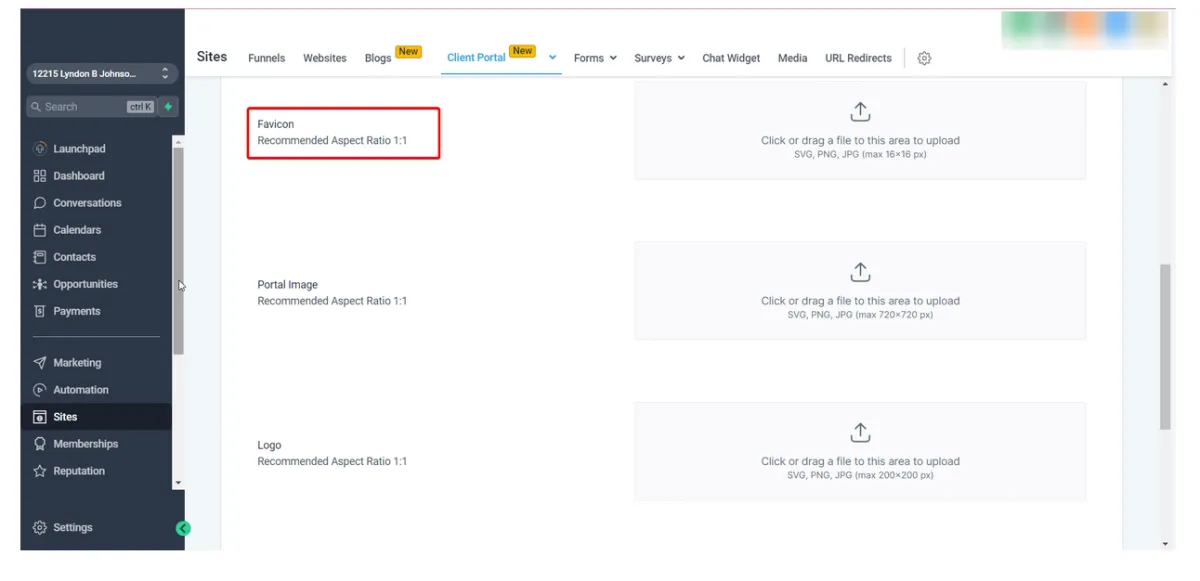
Portal Image:
The "Portal Image" section in the Client Portal allows you to upload your brand's square (1:1 aspect ratio) image in SVG, PNG, or JPG formats. The image dimensions should not exceed 720x720 pixels. This image will serve as the main branding image in your Client Portal.

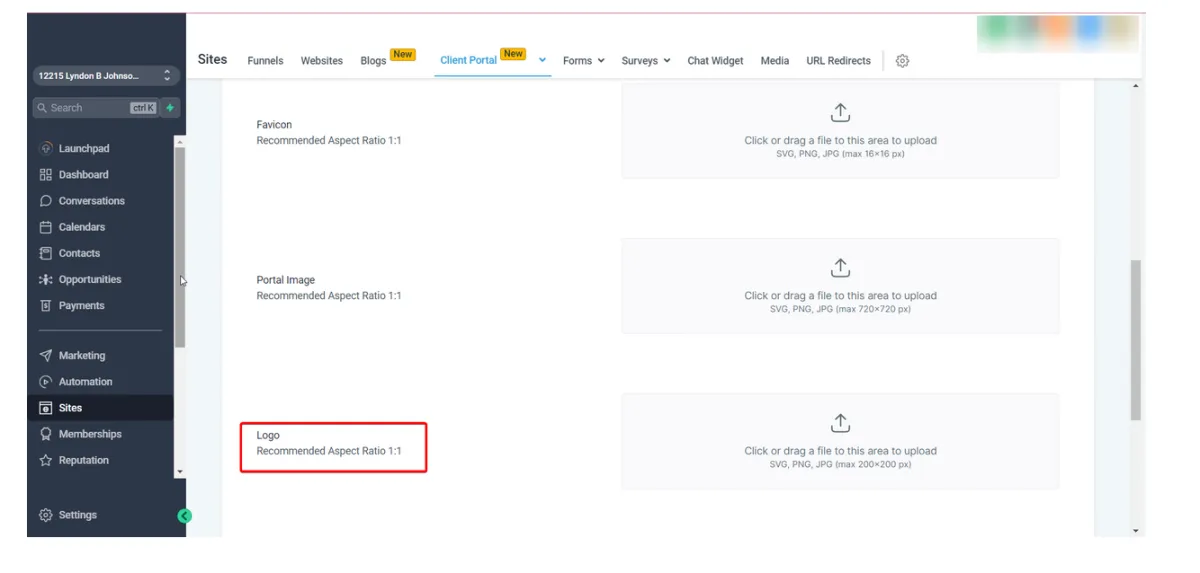
Logo:
Upload your brand logo to be displayed on the portal. Like favicons, logos should be in a 1:1 aspect ratio, in SVG, PNG, or JPG format, with maximum dimensions of 200x200 pixels.
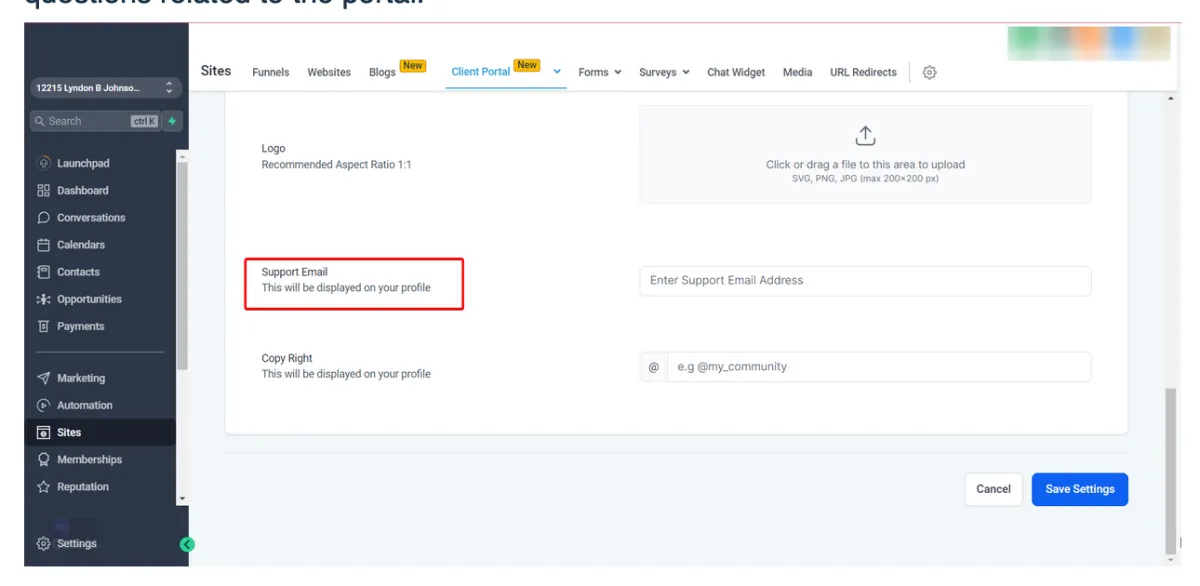
Support Email:
Specify an email address your customers can contact for support or questions related to the portal.
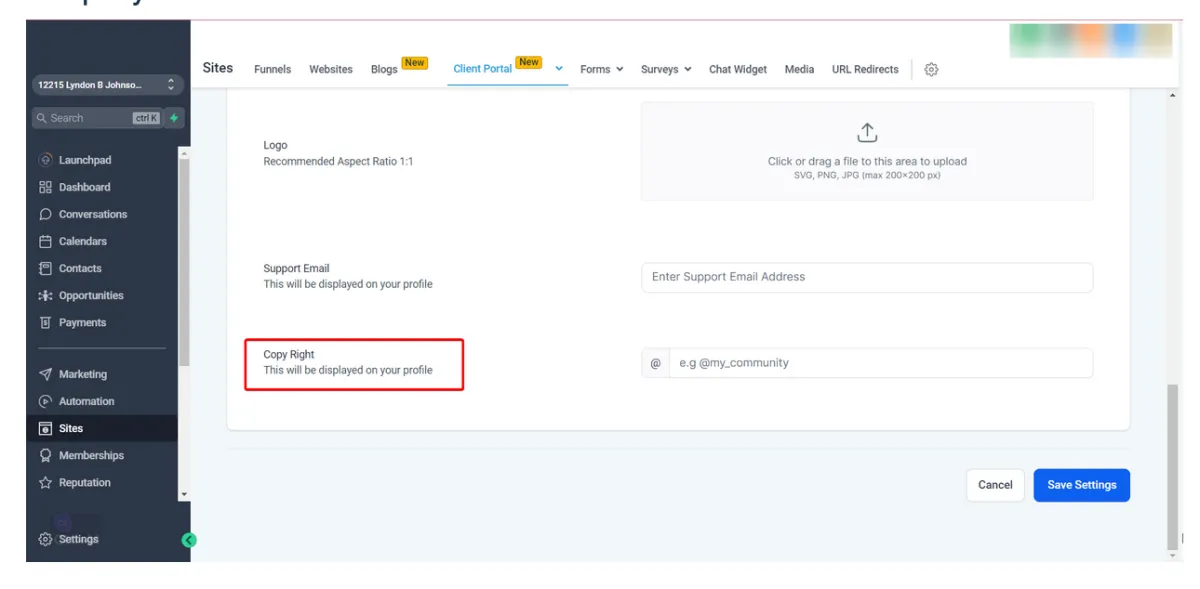
Copy Right:
You can enter copyright information here. This is typically something like "© 2023 Your Company Name." It helps protect your content and establishes your company's claim over the content.
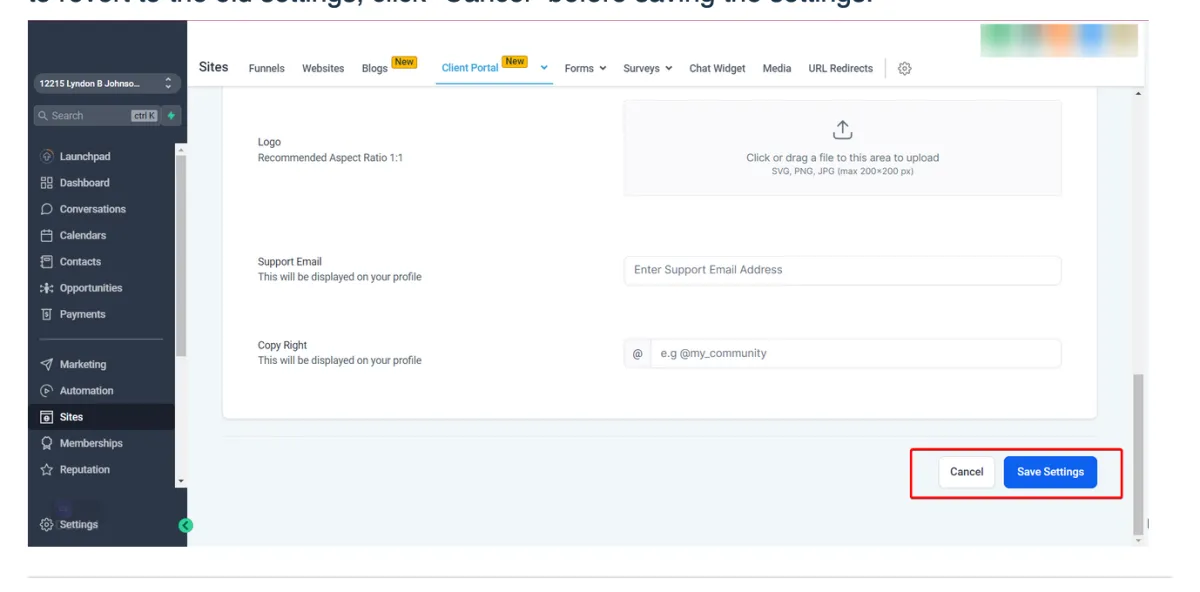
Save Settings:
After making all the desired changes, don't forget to click "Save Settings" to ensure your customizations are applied to your client portal. If you change your mind or need to revert to the old settings, click "Cancel" before saving the settings.
CONNECT
Reach out to us!